


Welcome - I hope you enjoy viewing my work. I modify most of my figure kits so that they wind up quite different from the original. (And there is a lot more here than just dinosaurs - so browse on!) I re-discovered the joy of art in mid-life and its been a joy to create and share my vision with others. Art, like all creative gifts, exists to be shared so as to enrich the lives of others.
So this website is my gift to you. If you have an interest in art/sculpting/modeling of all kinds of subjects, I would recommend that you check out the Internet Figure Modeling Clubhouse at
INTERNET CLUBHOUSE and also see
At both sites you will find incredible artists and sculptors, some nationally known. Their work will leave you in awe.
Thank you for stopping by!
NAVIGATION INSTRUCTIONS: THE GALLERY PAGE LINKS ARE THE SMALL NUMBERS ON THE LEFT, JUST ABOVE THE INDEX PHOTOS. TO ENLARGE PHOTOS, CLICK ON THE THUMBNAIL, THEN CLICK ON THE ENLARGED PHOTO IN THE LOWER RIGHT-HAND CORNER OF THIS PAGE AND FOLLOW THE DIRECTIONS.
FYI: SOME THUMBNAILS MAY APPEAR DISTORTED - IF YOU CLICK ON THE "VIEW FULL SIZE IMAGE" TEXT ON LOWER R OF THE PHOTO IT WILL OPEN UP CORRECTLY.
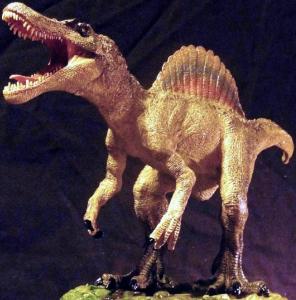
How did I do that?
1. I cut two huge slices into the neck - more than half-way deep - one just behind the jaw, the other near the body, and propped them open with pins (after heating with hair dryer);
Then I filled them with Quickplastic putty and then pressed the mould of the skin that I had made previously onto the putty to get the texture;
Finally, I held the head while the putty was drying so that the neck would remain straight and head angled upwards.
2. I then partly sliced through the arms at the shoulders and elbows and repeated the above procedure til the arms were both about the same height, moved back and outwards, with palms inward;
3. Finally, I made a slight incision at the front of each knee, filled it with putty (to make him bend backwards a little to offset the weight of the putty in the neck).
Then I painted it. I must say it came out way beyond my expectations.